Scalem User Documentation – How to Use Scalem
← Previous | Start | Next →
To be able to use Scalem, we need to take a look at multiple different routines, which can be put into two separate categories: Setup and Loop. The Setup routines are routines you only need to do once, or a few times. The Loop routines will be used regularly, and you’ll probably spend most time in them.
I try to describe a simple process here, but in reality, your individual process will probably look different.
If you feel that some important info is missing here, take a look at the Windows in Detail, which sometimes has more detailed information about the usage of the individual windows.
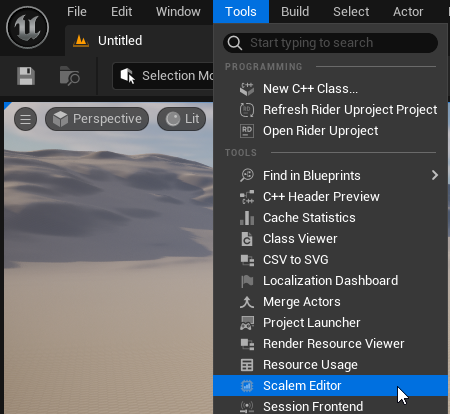
To open the Scalem Editor window, navigate to Tools → Scalem Editor:
Each target machine needs to be set up before you can add captures to it. However, it is possible to first make the captures, then create the target machine.
You should make the specifics of each target machine clear for youself and your team. This commonly includes not only the scalability settings (Low, Medium, High, Epic), but also the target framerate and other specifics.
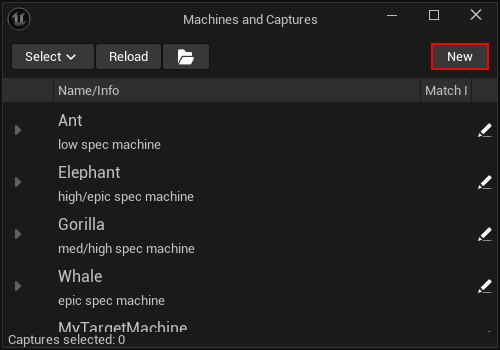
To create a new target machine, hit the New button in the Machines and Captures window:
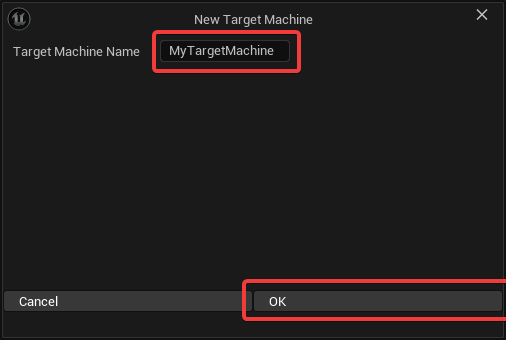
Then, give the new target machine a name:
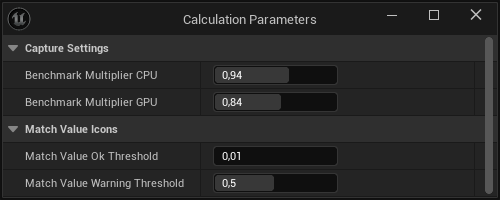
To finish setting up the target machine, fill in the details and an optional comment, then hit save:
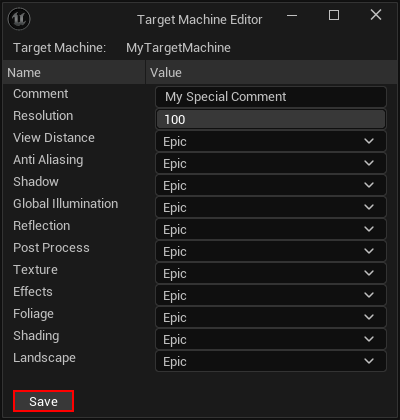
The calculation parameters will be stored in the DefaultEngine.ini file of the project.
The settings contain values such as:
These settings will be applied immediately after changing!
This window can be opened by using the Window menu in the Scalem Editor.
Scalability.ini preset filesRight now, there’s no way to create a new preset file using the UI.
You can however copy an existing preset file, or the BaseScalability.ini file, and place it in the (Unreal Project)/Scalem/Presets folder.
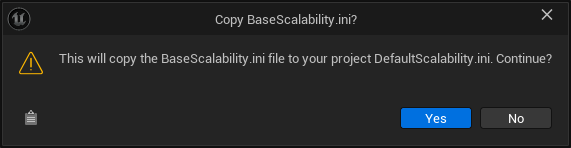
DefaultScalability.ini fileEven if the DefaultScalability.ini file does not exist, it still appears in the selection list.
If you want to create it, you can select it and confirm the prompt.
This will copy the BaseScalability.ini file that’s shipped with Unreal and place it into the correct location.
In rough order:
With the plugin enabled, package your project using the Development configuration.
Copy that project over to the target machine you want to test on, then run it.
Note: The
Developmentconfiguration is only needed if you want to use a console command to capture scalability data.
Use various techniques to adjust the quality settings to achieve what you defined for the target machine.
This can be done by setting the scalability groups to a specific quality, or by setting scalability CVars individually, or a mixture of both.
Note that currently the scalability group setting can only be compared to the same Scalability.ini file configuration, while CVar overrides provide a clear, absolute value.
If your quality settings menu uses scalability groups, you can also use it to balance quality and performance.
Note that this definition can vary. While you might want to maintain stable 60+ fps on one machine, 30+ fps could be enough for another machine. Look at your definition!
To find the best settings for that target machine, it’s sometimes necessary to play through longer (and different) sections of the game. Keep that in mind.
When you’re satisfied with the quality settings and the performance, you can use the Scalem.Write command to dump the configuration to a file.
The command takes all the parameters as a comment, so you can keep apart multiple captures.
Note that Scalem uses the computer name as the target machine name. You can manually adjust the name in the captured file using a standard text editor.
As a last step, copy that file ((Unreal Project)/Scalem/....ini) to your project’s Scalem folder.
Scalem is designed so that you can include a capture/report button in your menu and ask playtesters to do that process for you. It is up to you to manage playtesters and provide them with information about this.
Scalability.ini using the EditorAfter opening the Scalem Editor (Tools → Scalem Editor) most windows will be empty:
(DefaultScalability).Using the Scalability Editor, you can select a scalability preset and make it active. This will automatically put the bar plot window into the “compare to auto” mode and activate the visual scalability editor, as well as the Scalability Editor window itself.
To get back to “compare to target” mode, use the “Select None” button.
Using the Machines and Captures window, you can look at all scalability captures and activate them. Activated captures will be added to the calculation and to the bar plot, as well as to the Visual Scalability Editor as little, colored dots.
To adjust the scalability group thresholds, you can use two different methods:
The second way can be the preferred way, as you can also see the benchmark values and the target for the selected scalability captures and their target machines.
Both methods run the calculation to adjust the bar plot and the performance indicators (Machines and Captures).
When you’re happy with the changes, you can click the “Save” icon in the Scalability Editor to save the Scalability.ini preset file (or the DefaultScalability.ini file, if selected).
If you’re not editing the DefaultScalability.ini file, the selected preset will only be saved, but never applied.
This can be useful for comparison purposes, as well as to communicate changes with your team, but otherwise it has no technical impact on your product.
To overwrite the DefaultScalability.ini file with your selected preset, you can click the “Make Default” button in the Scalability Editor.
In the Scalability Editor, you can use the little pencil icons to open a CVar editor window for that specific scalability group and quality. In that window, you can add and adjust the values as you like.
Using the Machines and Captures window, you can select captures to add them to the calculation and the bar plot.
After adjusting the Scalability.ini file (as well as benchmark multipliers), you can test these settings and start again at step 1.
Scalem tries to be as self-contained as possible. However, some functionality is just useful to have, so I exposed them as API functions.
In general, the only runtime module (ScalemRuntime) tries to be as small as possible, only containing what’s absolutely needed.
UScalemBPRuntimeLibrary::GetCPUBenchmarkMultiplier()UScalemBPRuntimeLibrary::GetGPUBenchmarkMultiplier()
Scalability.ini file, you can use these functions to get the exact same multipliers.